Module 6 Setting up RStudio
First, let’s get the right programs installed on your computer. Then we will explain what they are and why you need them.
First, download and install R:
Go to the following website, click the Download button, and follow the website’s instructions from there. https://mirrors.nics.utk.edu/cran/
Second, download and install RStudio:
Go to the following website and choose the free Desktop version: https://rstudio.com/products/rstudio/download/
Third, make sure RStudio opens successfully:
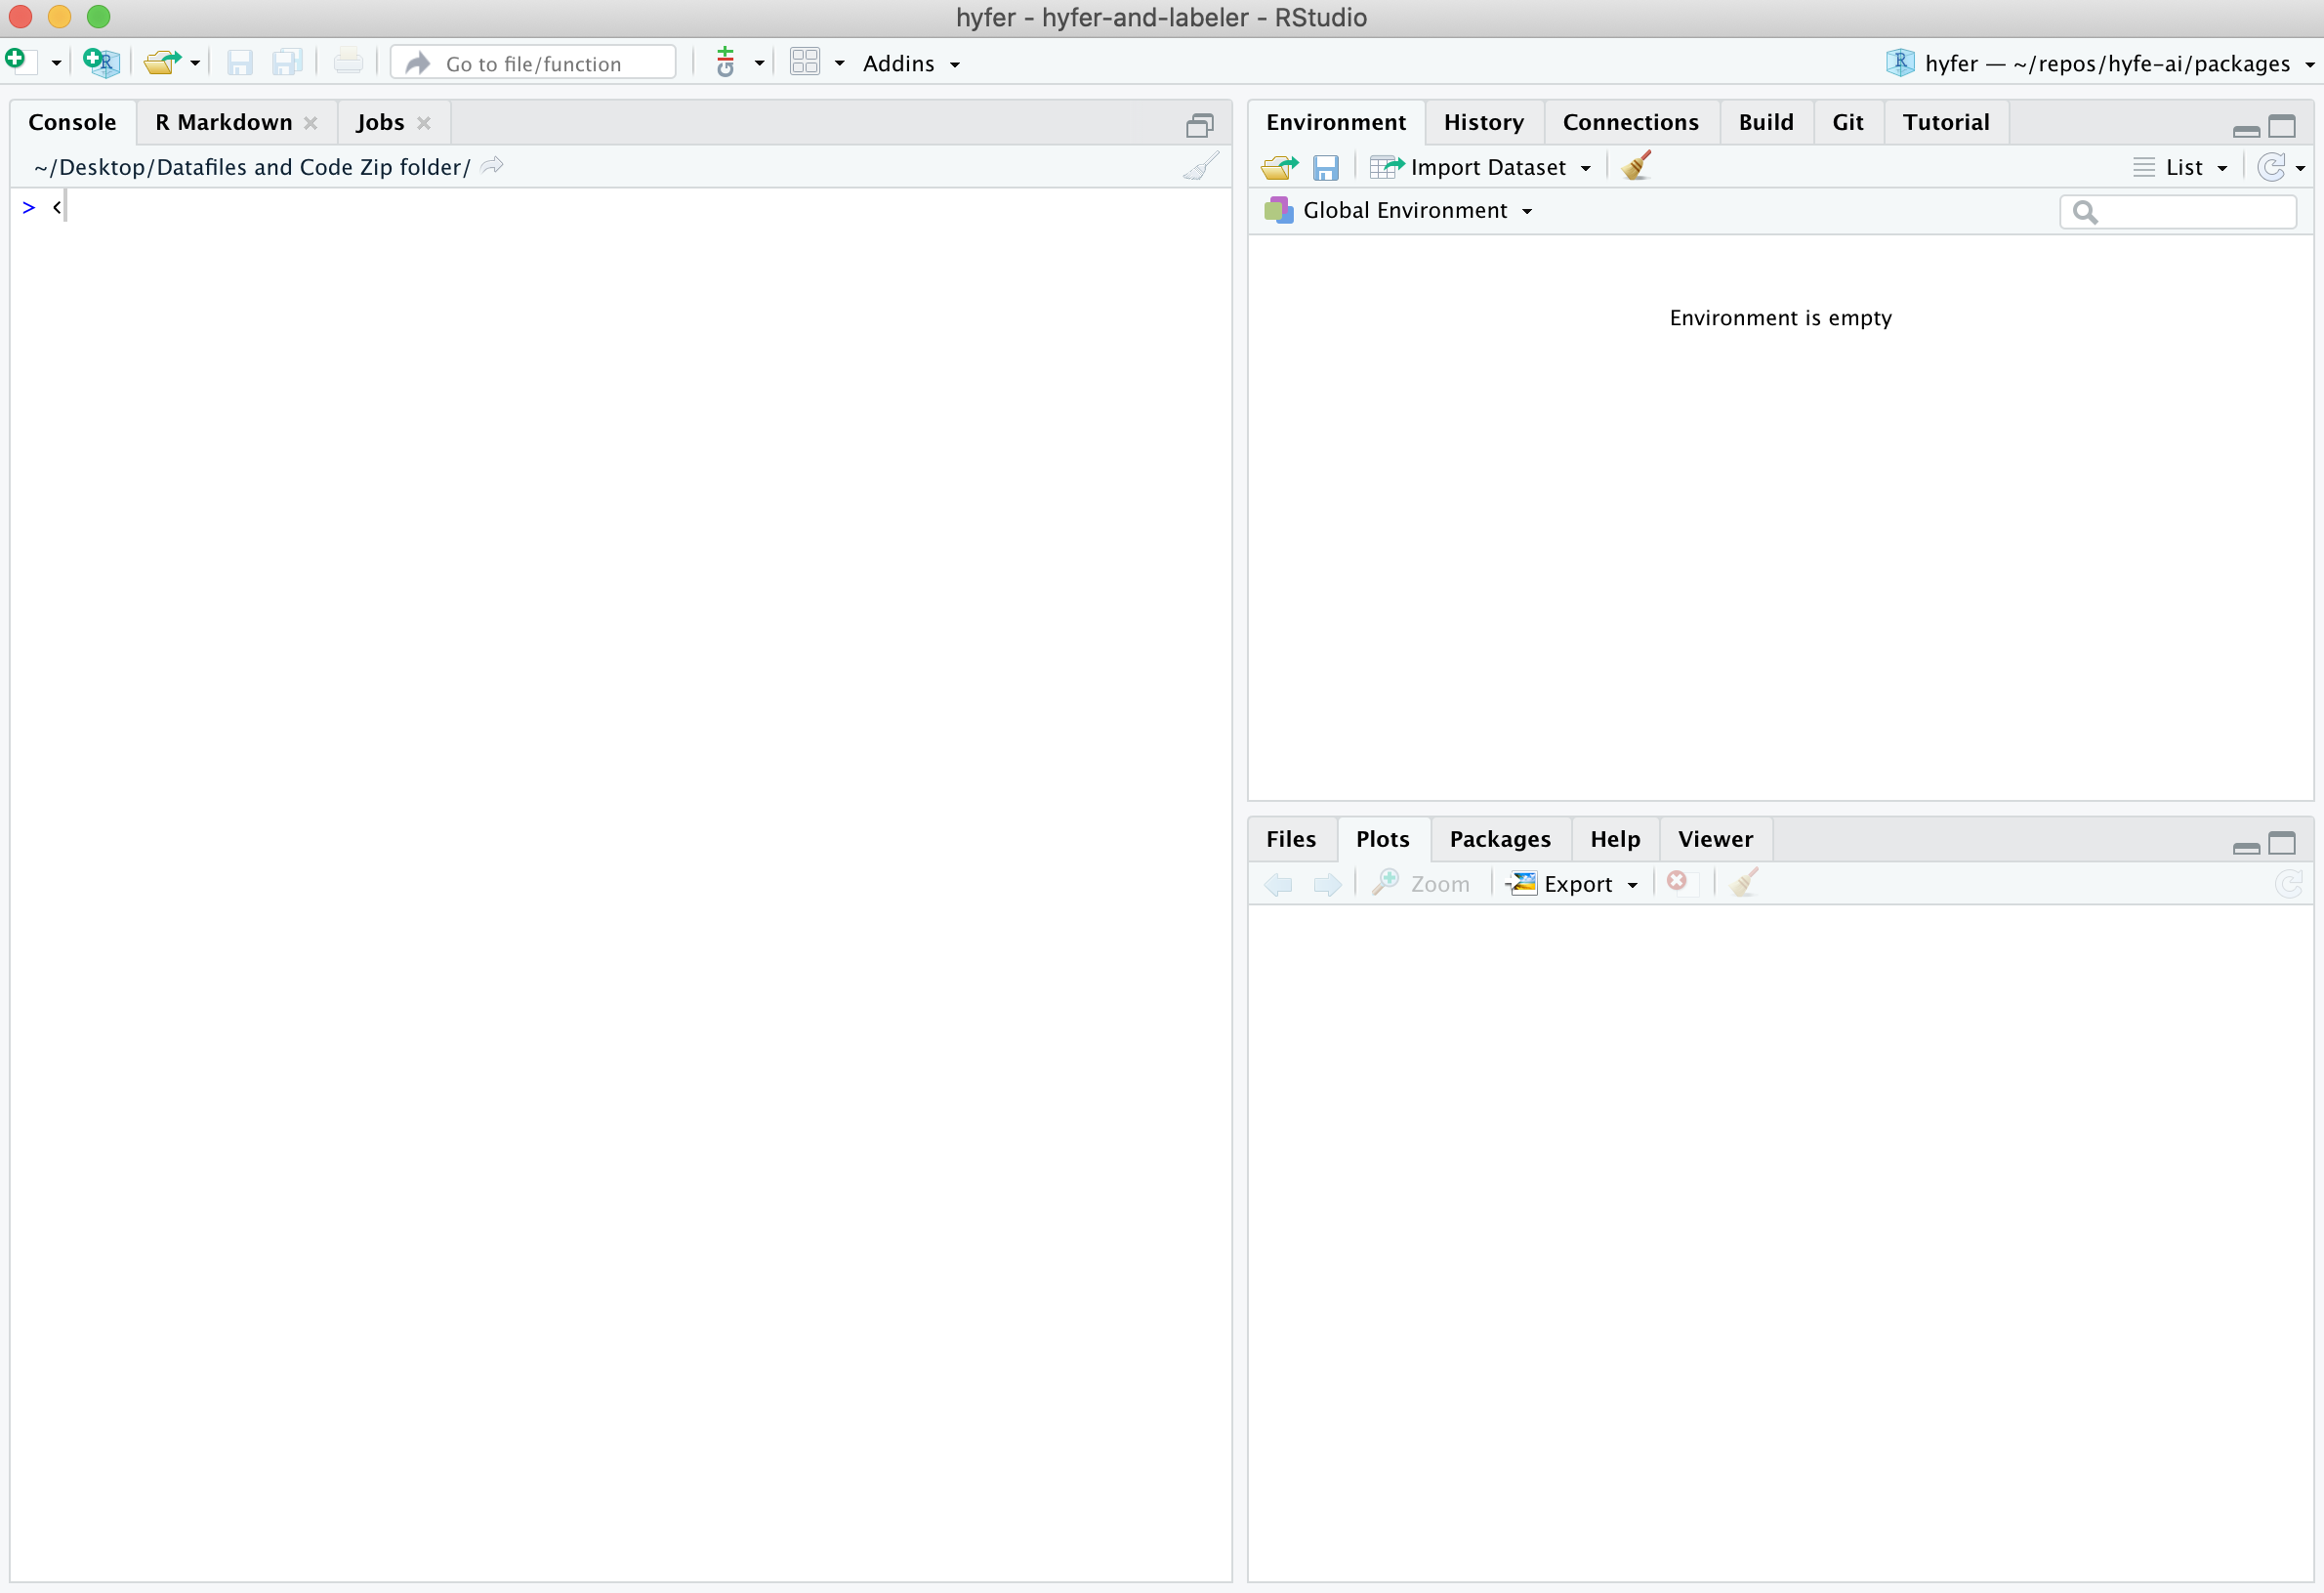
Open the RStudio app. A window should appear that looks like this:
Fourth, make sure R is running correctly in the background:
In RStudio, in the pane on the left (the “Console”), type 2+2 and hit Enter.
If R is working properly, the number “4” will be printed in the next line down.
Finally, some minor adjustments to make RStudio run smoother (and look cooler):
Go to Tools > Global Options and make sure your General settings match these exactly:
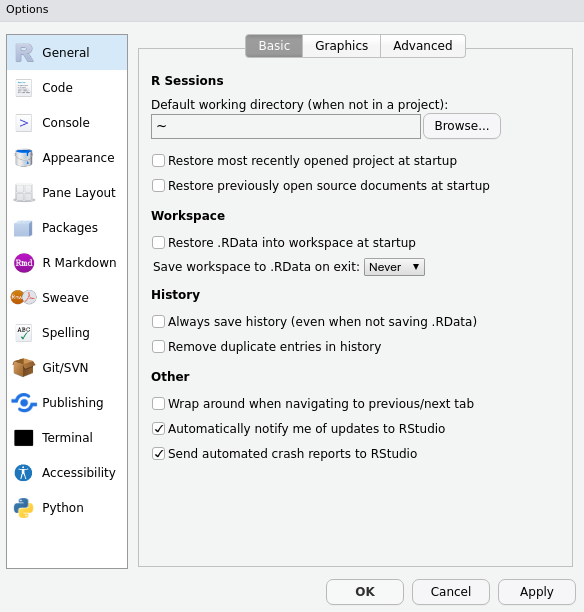 Specifically, uncheck the option under Workspace to ‘Restore .RData into workspace at startup.’
Now go to the Appearance settings and choose a cool theme!

Boom!
Instructor tip:
These installations can be clunky with a large class, and it is never fun to start out with a bunch of technical hang-ups. We recommend assigning this work prior to the start of the first class. Hold office hours the hour before class in order to troubleshoot one-on-one with students if they need help.
Appendix, install supplementary software:
In order to install certain packages, you’ll need to take one more step:
- On Windows, download http://cran.r-project.org/bin/windows/Rtools/ and run the installer
- On Mac, you need Xcode Command Line Tools. You might already have this. Check by running
devtools::has_devel(). If You don’t have it, open shell/terminal and run
xcode-select --install- Alternatively, on Mac, you can download Xcode from the Mac App Store directly: https://apps.apple.com/ca/app/xcode/id497799835?mt=12